
Interior decorating
How to take photos of your interior styling like a pro
Jul
In this digital age, architectural photography, as well as interior photography, are becoming more prevalent. As a result, more and more interior designers are creating photo galleries of their work. Many interior designers invest in photoshoots or hire professionals who specialise in photography to take those amazing images of their interiors. In this post, we’ll show you how to take photos of your interior styling that will make your photos look like a pro snapped them. From setting up your camera to creating stunning photo albums, we’ll show you everything you need to get started.
Research the location
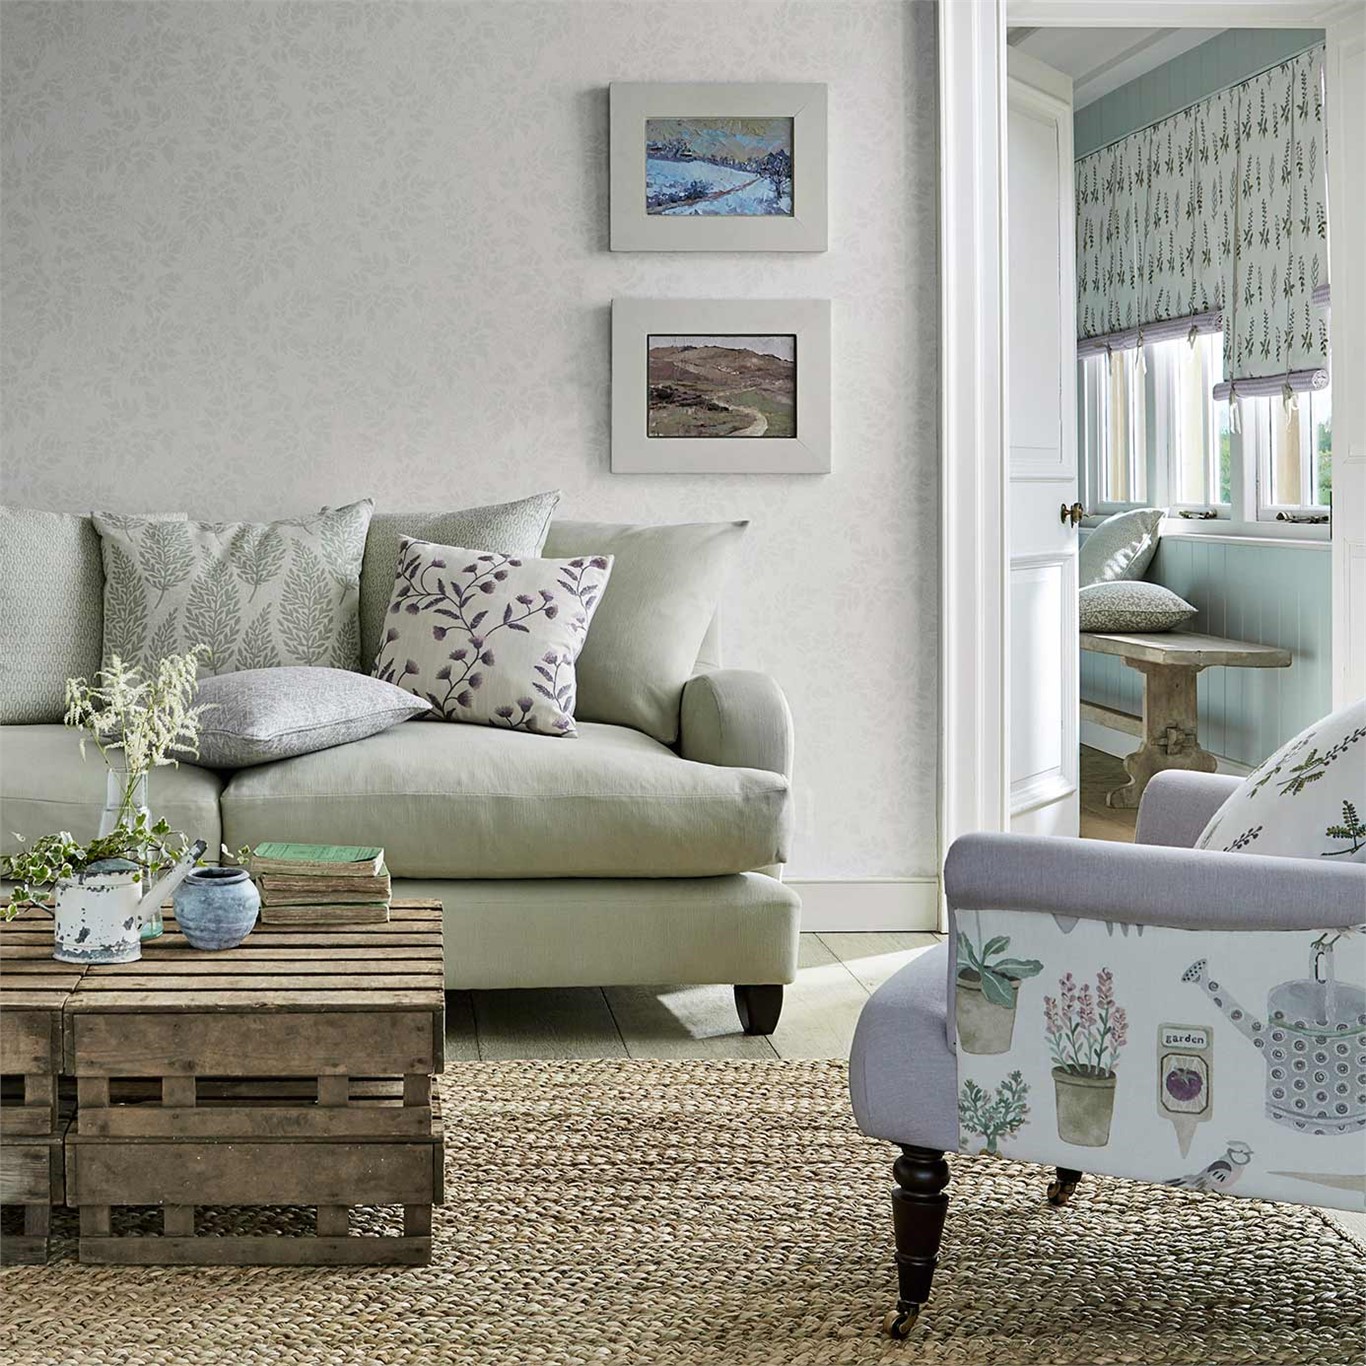
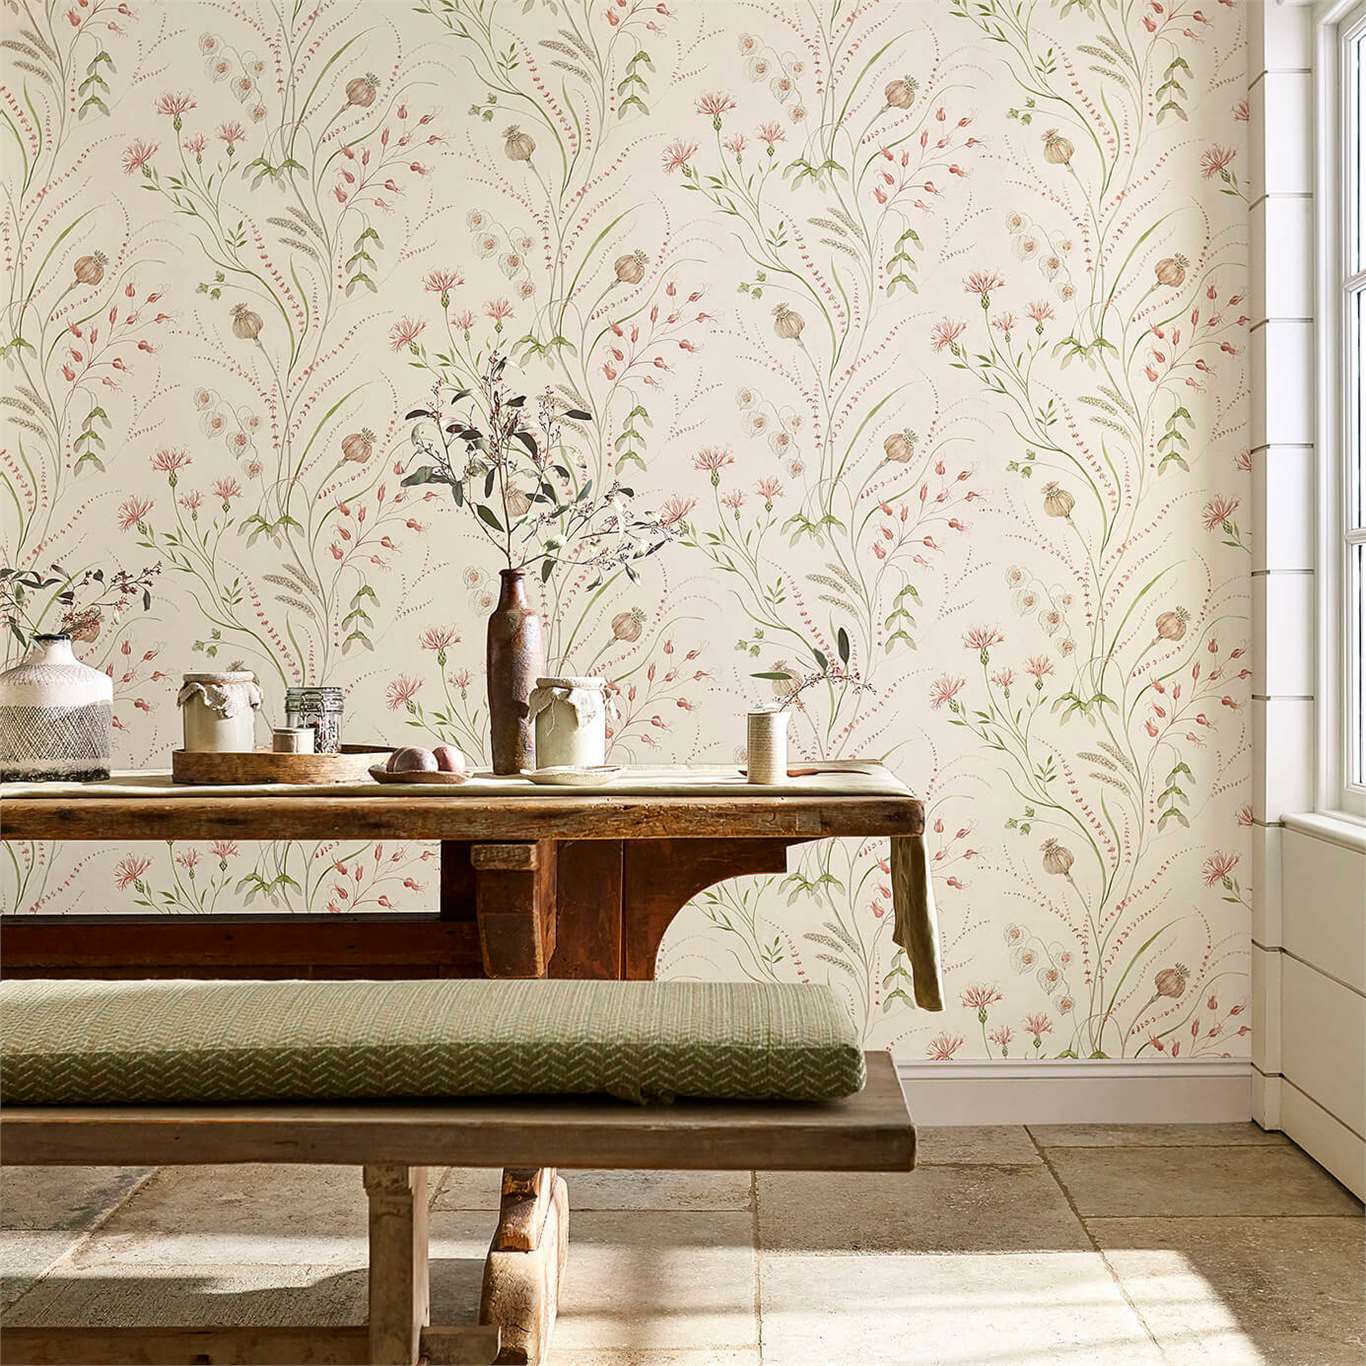
It may seem obvious, but before you start snapping , you’ll want to know the ins and outs of the space. Take note of any furniture that needs to be moved, lighting fixtures that need to be turned off, and if there are any unnecessary items that need to be removed from the shot. Having a clear vision of what you want from a room before you start shooting will give you a better chance of creating a successful and polished shot. Quite often chairs need to be aligned exactly, floor rugs laid perfectly flat and square to the room. Check if the walls and windows looking balanced. Remove any clutter.
Plan your lighting and position
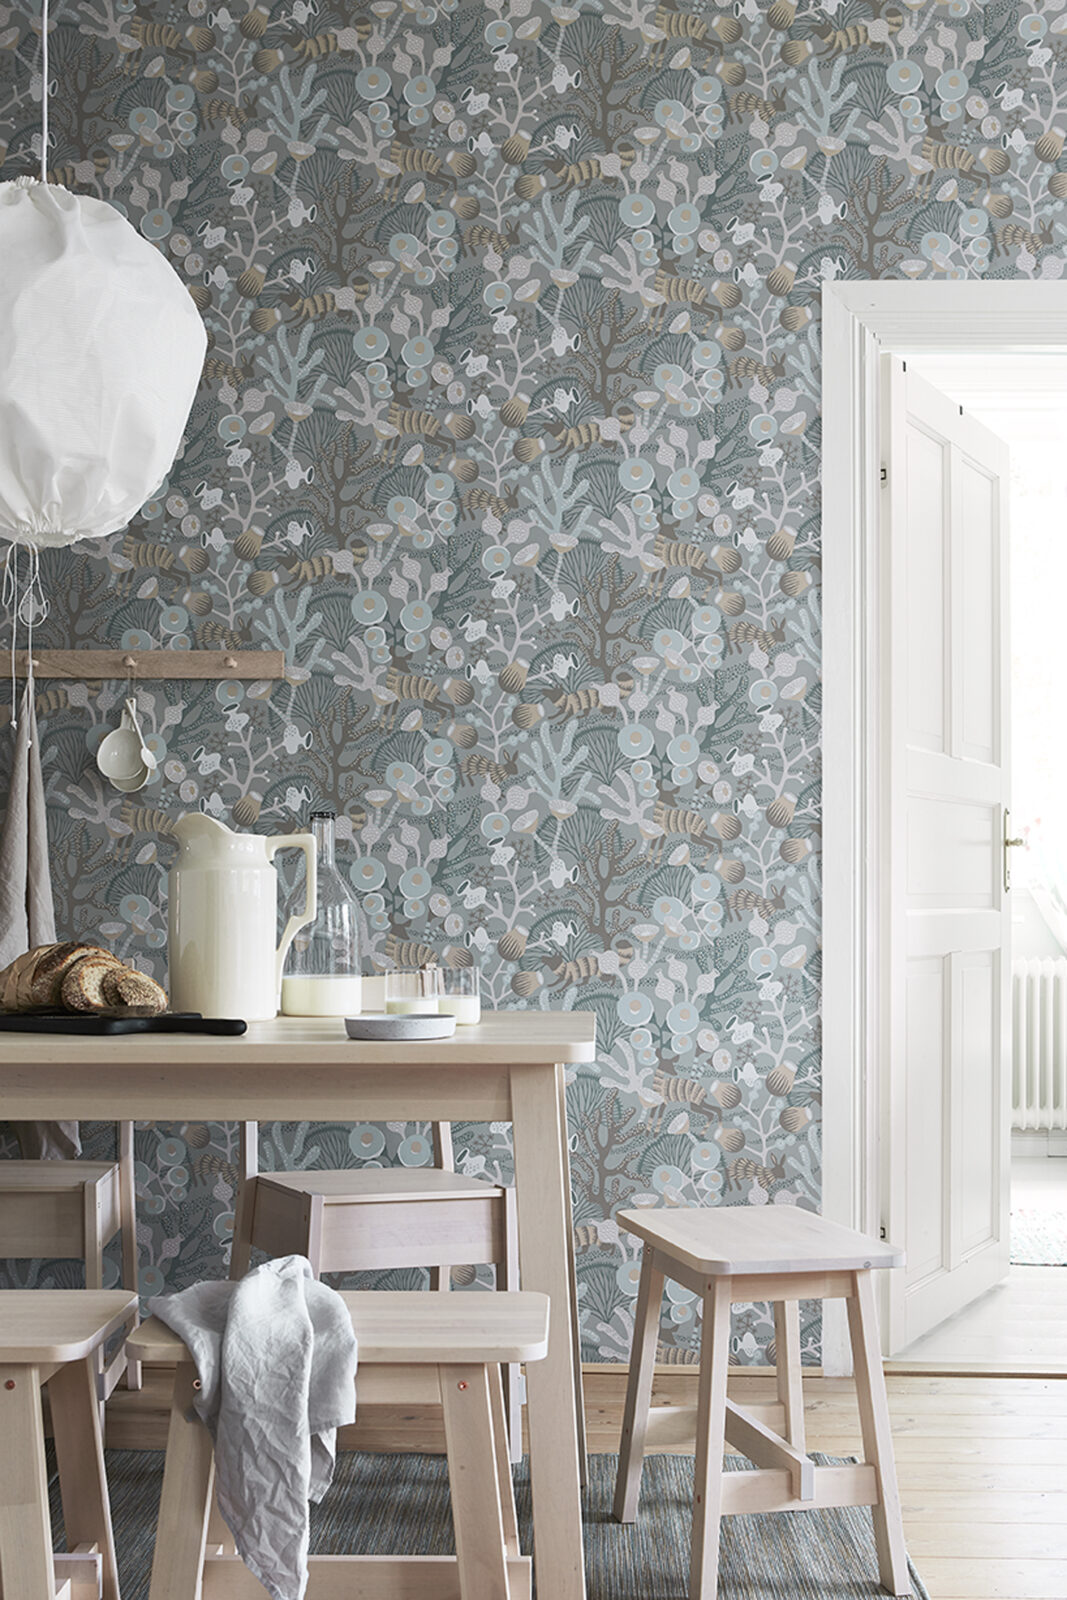
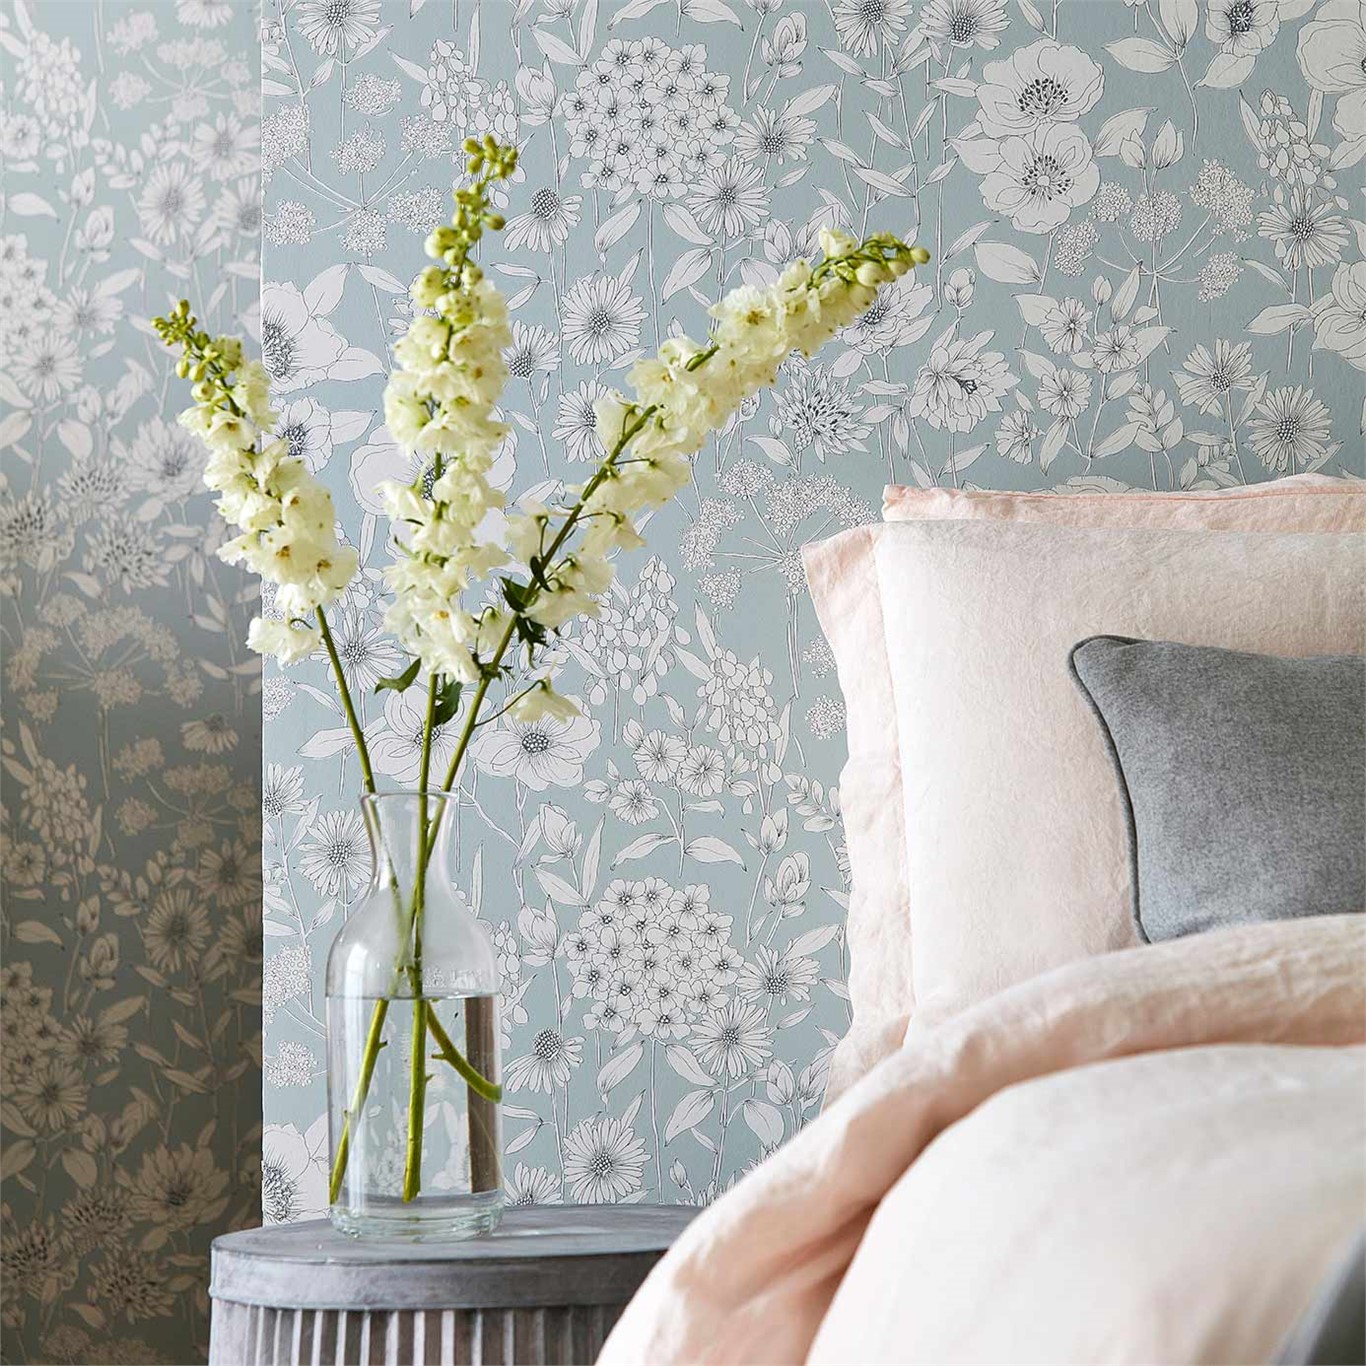
This is the most important and overlooked step in interior photography. You can have the most beautiful furniture, accessories and wall paper in the world, but if your lighting is off, your images will be ruined. You don’t want reflective shiny walls not showing the beautiful detail of your wallpaper.
There are 3 main types of lighting:
Natural light: You’ve likely noticed that interior designers love to shoot their work with natural light. It’s soft, even, and very easy to work with. Natural light can be challenging, though, due to the fact that it changes throughout the day as the sun moves across the sky. To get the best results from shooting with natural light, shoot around the ‘golden hour’, which is an hour before sunset or an hour after sunrise when the light is most bright and warm. Otherwise midday when the sun if directly overhead and not beaming into part of the room.
Artificial light: This is the most commonly used light for interior design photography. It’s easy to adjust and manipulate and allows you to create a number of different looks depending on the type of light you use. There are a number of different types of artificial lights you can use, including tungsten, fluorescent, and LED lighting. LED lights are quickly becoming the most popular choice, as they are energy-efficient, easy to control, and provide a colour-balanced light that’s similar to natural light. Continuous LED lighting has many advantages but are still more costly. Walls will be less reflective using continuous lighting with modifiers. Great choice for walls with glossy or lustrous wall paper.
Flash: Don’t forget that a good flash can be a handy tool in your photography toolkit. It’s best to have one flash unit per person in the shot, so you’ll need to factor that in if you plan on shooting in groups.
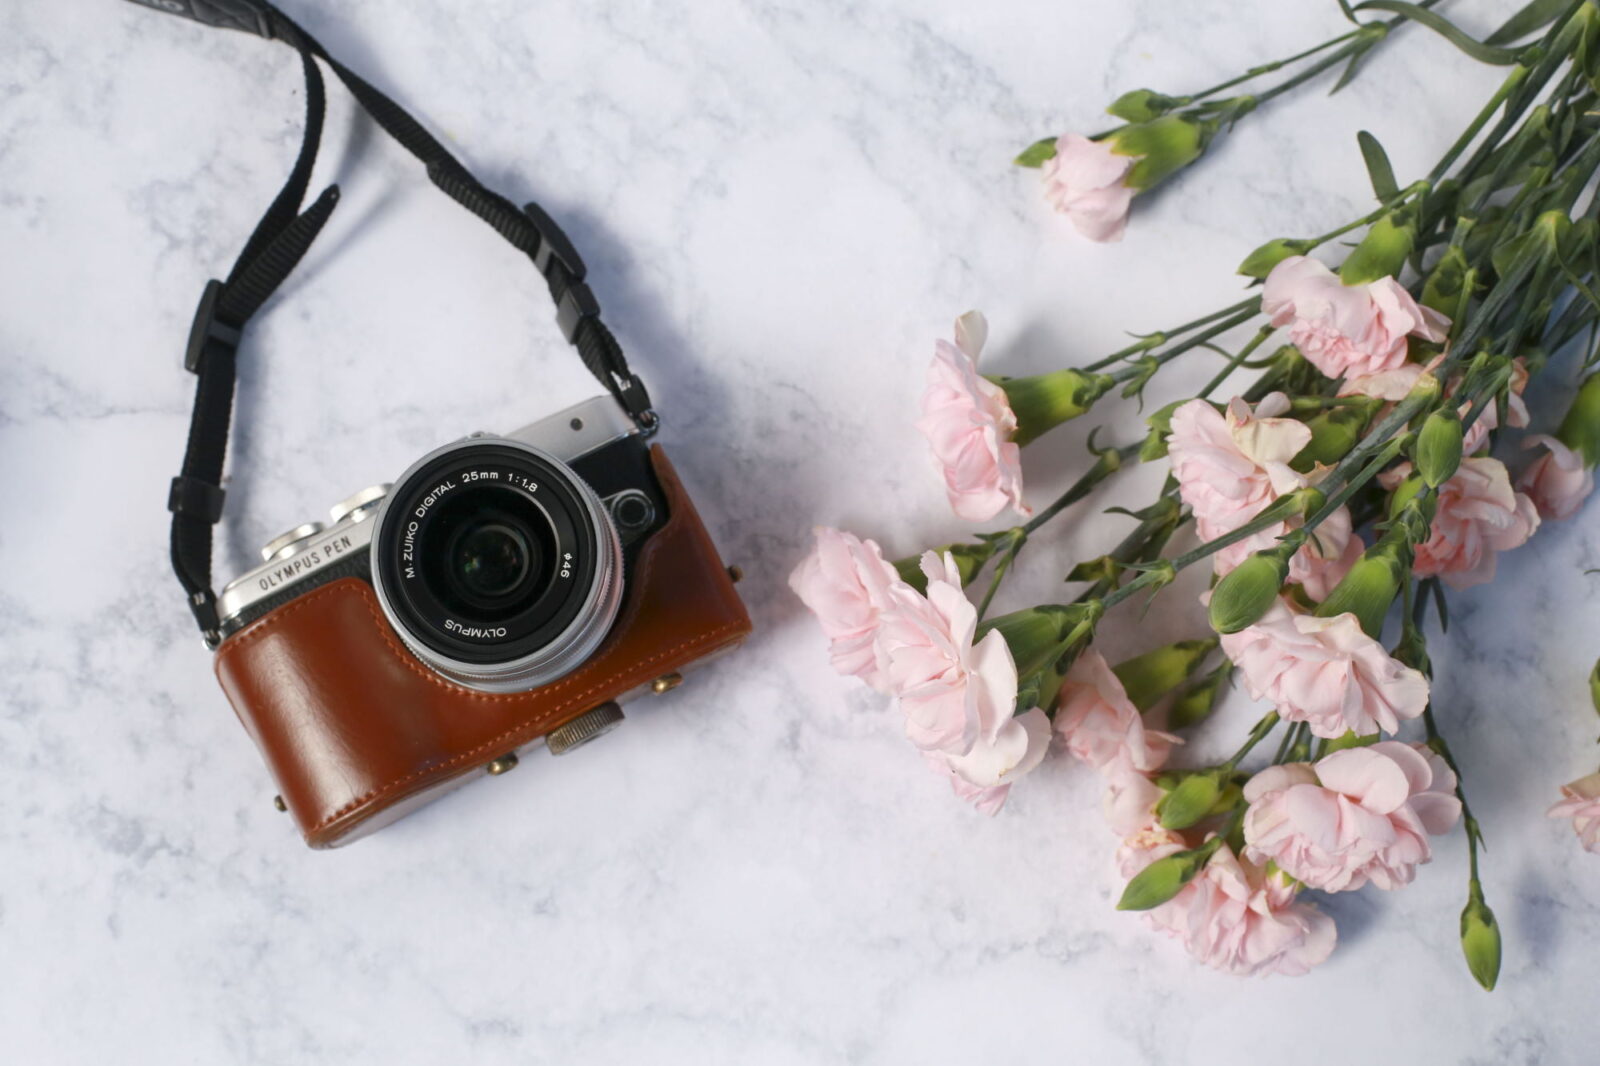
Invest in the right equipment
Interior photography isn’t cheap, especially if you’re just starting out. But there are a number of affordable and high-quality photography tools and accessories out there. However, you’ll want to make sure you’re buying the right equipment for the job.
Camera: A DSLR or modern mirrorless camera is the best bet for interior photography. It allows you to use a wide range of different lenses and provides a lot more flexibility for creative shots. If you don’t have a DSLR, you can still shoot with an DSLR camera or a mirrorless camera, but you may want to invest in a tripod as these cameras aren’t as sturdy.
Tripod: If you choose to go with a DSLR camera, a tripod is an essential piece of equipment. It will help you get crisp, steady images and keep your camera steady while shooting in low-light conditions. Be sure to choose a tripod that’s sturdy and easy to carry. Even a second hand one is better than none.
Lens: A standard lens will work for most interior design photography, but if you want to get closer or get wider images, you may want to invest in a zoom lens. If you’re on a budget, a standard zoom lens, which is a zoom lens that covers a wide range of focal lengths, will do the trick.
Lighting: Lighting is the key to creating a gorgeous interior design photo as we’ve noted above. You’ll want to invest in several different types of lighting so you’re able to customize your look, but be sure to get lights that are specifically made for photography.
Don’t forget the small details

You may think that you’ve thought of everything when it comes to taking interior design photos, but there are a few small details that you may want to consider.
Cushions: Take the time to make sure any cushions in your shot are clean and neatly pressed. They make a big difference in the overall look and feel of a photo.
Carpets and rugs: Make sure any carpets or rugs are clean and tightly rolled. Keeping them rolled will prevent them from looking messy and uneven in your shots.
Lighting fixtures: If there are any lighting fixtures on the ceilings or walls of the room, make sure they’re turned off. You don’t want to risk your photos being ruined by a light fixture that’s too bright.
Shiny walls: Place you lights and tripod in a position where you’re not going to have distracting shine on the walls. It detracts from the overall photo and hides the art built into the wall paper choice.
And finally, have fun!
Both Interior design photography and architectural photography are great ways to show off your skills as a designer and build your business. However, it’s important to remember to have fun with it. If you’re stressed and don’t enjoy the process, it will be very difficult to create consistent, quality images.
Having a clear vision of what you want from a room and then having fun with your setup and styling will help you create great shots every time.